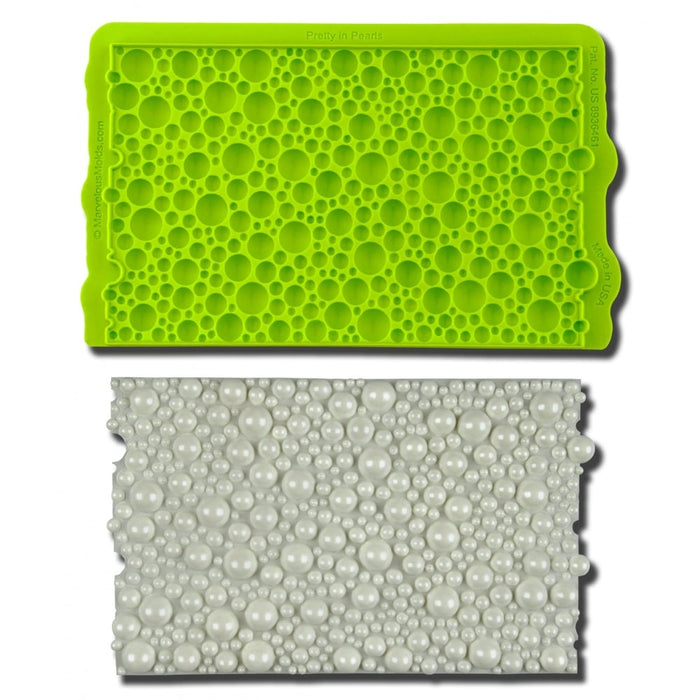
Marvelous Mold Pretty In Pearls
Description
Save yourself time and effort by adding amazing designs straight onto a crumb coated cake!
Now you can add textured designs directly to a crumb coated cake with this Pretty In Pearls Simpress Mould by Marvelous Moulds.
This ingenious mould features a one of a kind pearl design, not only allowing you to cover the tiers of your cakes in beautiful pearls in one easy step, you don’t even have to cover your cake in sugarpaste first, taking all the hard work out of covering your cake and saving you loads of time!
The Simpress mould features a panel of clustered pearls in varying sizes that is perfect for adorning the side tiers of wedding cakes, anniversary cakes, or any other occasion that requires a touch of class.
The Simpress range of moulds have been designed specifically so that you can add them to a crumb coated cake, eliminating the need to cover it in sugarpaste first. Unlike the Marvelous Moulds onlays that have a thinner pattern that are designed to be added onto fondant, the Simpress moulds are designed so that you get exactly the right amount of sugarpaste covering the outside of your crumb coated cake, helping you get a great looking cake, as well as a delicious one!
As the Simpress moulds provide an optimal thickness of sugarpaste, it also means that you will get a smooth finish around your cake which you could not achieve by adding an onlay directly onto a crumb coated cake.
Another great feature is that you can use it to texture buttercream or ganache for a unique finish.
All of the moulds in this collection are made with the highest quality, food grade silicone to produce an extremely durable silicone mould that is tear resistant and can withstand temperatures to 204°C (400° F).
The Simpress moulds work best with sugarpaste/fondant but can also be used with flower paste, modelling paste, modelling chocolate, Isomalt, buttercream and more!
Non-Food Uses: Candle Making, Wax, Salt Dough, Plaster, Sculpting Clay, Polymer Clay, Soap, Cold Porcelain.
Things You Should Know:
1. Do not fill the mould to the top of the blade that rises up around the mould cavity. The mould should be filled to the top of the cavity which is level with the lip and the point where the blade starts to rise from the surface of the mould, people naturally will fill a mould to what they think is the top. If you fill to the top of the blade, the resulting piece will be too thick and not the way it was designed.
2. Put corn starch (corn flour) in a stocking, nylon, muslin tie shut to make what we call a pounce. Roll out fondant, sugar paste to the appropriate thickness, dust lightly with corn flour and put dusted side down onto mould. Press with palm of hand and fingertips forcing fondant into all the details. The blade will already start to cut the fondant. Take a light rolling pin and roll across the top of the mould.
DO NOT PRESS TOO HARD. Light quick strokes work the best and enable the blades to perform perfectly! Once the excess fondant has been trimmed, press again quickly, place your fingers on the side of the blades and press it sideways toward the cavity and down into the cavity. This removes any little bits of fondant flashing and makes a perfect edge.
Mould measures approximately: 6.3" x 4".

